Glazing

Glazing
Thursday, 24 February 2011 - and Wednesday March 9....
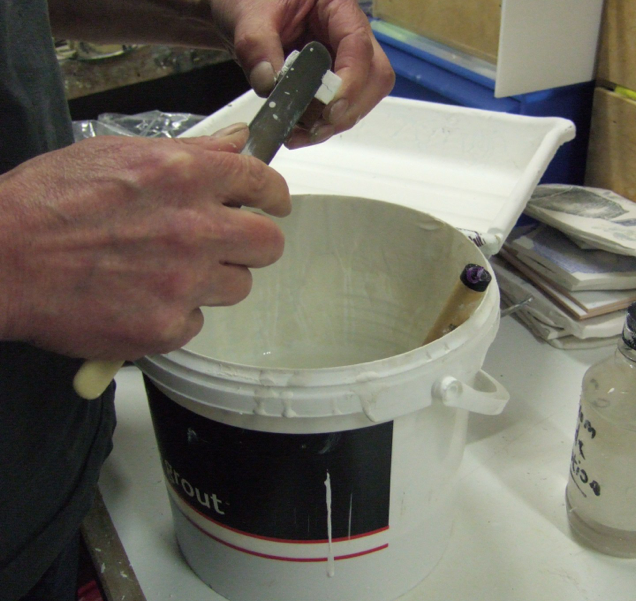
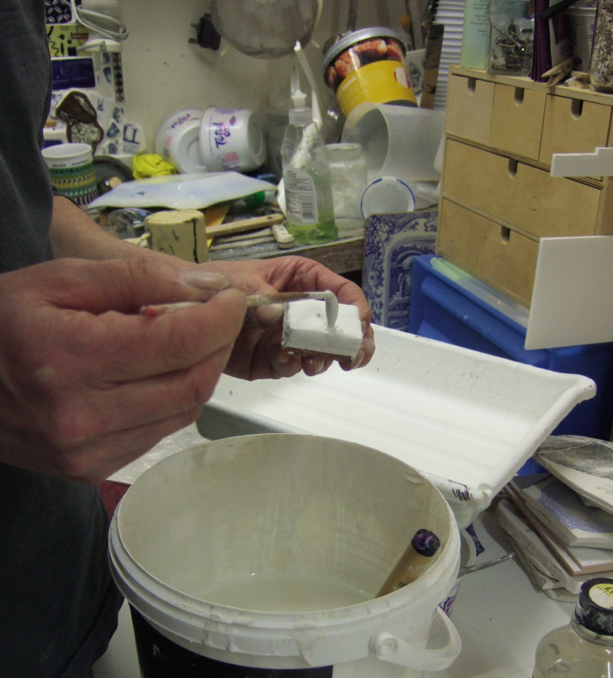
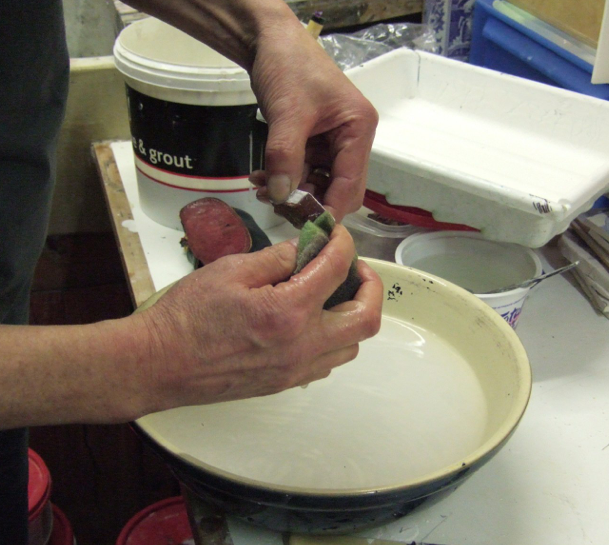
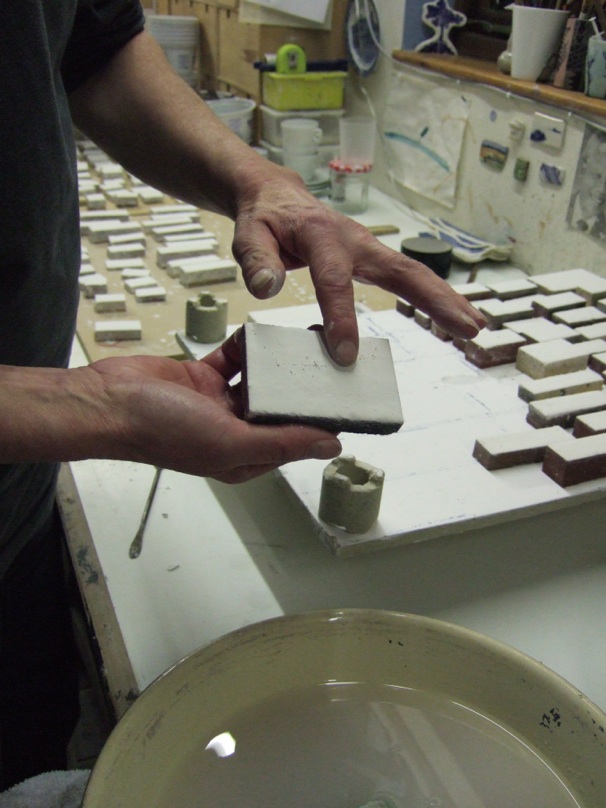
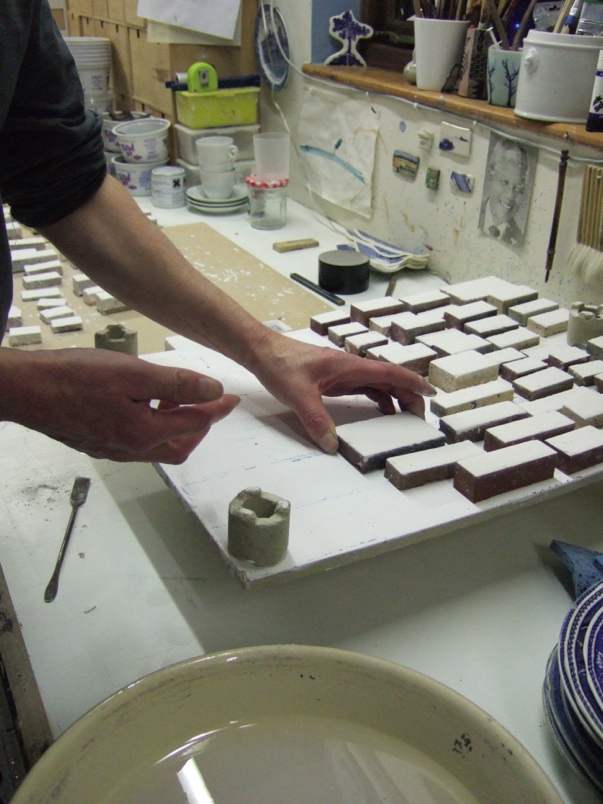
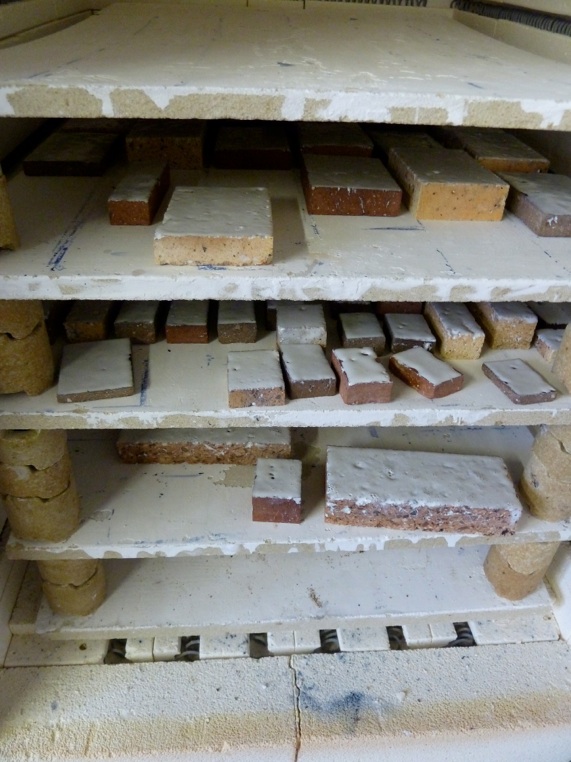
I’ve been glazing the tiles (sliced bricks) for the commission. The process involves dipping them face down into a bucket of mixed low fire tin glaze. As some of the bricks are not that absorbent many are left overnight to dry then re-dipped again to build up a good thickness to create the necessary opacity to hide the red/yellow surface. Once dry they are examined and any missing glaze is applied with a soft thin brush... then the sides are scraped to remove the excess, before sponging clean. Finally the surface of each tile is finger rubbed to smooth over any air bubbles and ensure an even coating of powdered glaze. Each tile is then placed on kiln shelves ready for firing.... See below:
Early March update .. I’ve been away teaching at KHIB in Bergen Norway and then down in London to give lectures/do a bit of teaching at the Royal College of Art - inevitably there’s been a break in commission tile production, although I have been working on the digtal side preparing artwork for printing.
Glaze firing went reasonably well - no cracked or broken tiles, but many have bubbles in the glaze surface, probably due to gasses in the bricks. Although some of the tiles were fine, I decided to re-glaze and re-fire many of them...
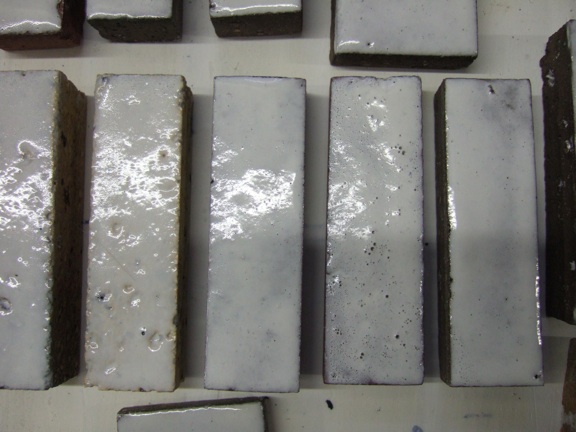
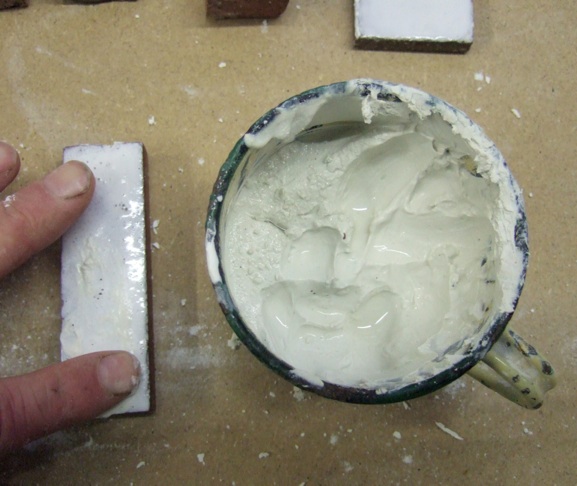
Details of bubbles in glaze on the tiles, and re-applying thick, pasty glaze with a finger. The glaze is then allowed to dry before lightly rubbing the powdered surface to remove any excess.